Opening a rig
A RIG stands at the left end of a rig, Atomic modules bonded edge to edge, and works on everything to its right: it opens saved rigs there, stores their settings as scenes and saves them.
The quickest way in is from any Atomic module: open its right-click menu and choose Atomic Help, then Spawn RIG to load presets. A new RIG appears apart, to the right of the rig, showing the factory's rigs.
The two icons at the top of the RIG choose where it looks for rigs: the factory's, which come with Atomic, or your own folder, Atomic/rigs inside Rack's user folder (the RIG's right-click menu can set another). Click the name to list the rigs there and pick one: the rig to the RIG's right is replaced by the one picked, bonded, with its cables, as one undo, and cables from the old rig to modules outside it are lost. The arrows above and below the name open the previous or next rig the same way. A new RIG, with nothing to its right, reads "no rig".


- Factory the rigs that come with Atomic
- Your rigs your own folder
- Arrows open the previous or next rig
- Name click to list the rigs and pick one
- Note write or read the rig's note
- SAVE save the rig as a file
- Scene the current scene; drag, or click ◂ ▸
- REPLACE write over the current scene
- INSERT add a scene after it
- COPY the left icon: copy the current scene
- PASTE the right icon: insert the copy after the current scene
- DELETE take the scene out
- SCENE choose or morph by voltage
- PREV a trigger steps back a scene
- NEXT a trigger steps on a scene
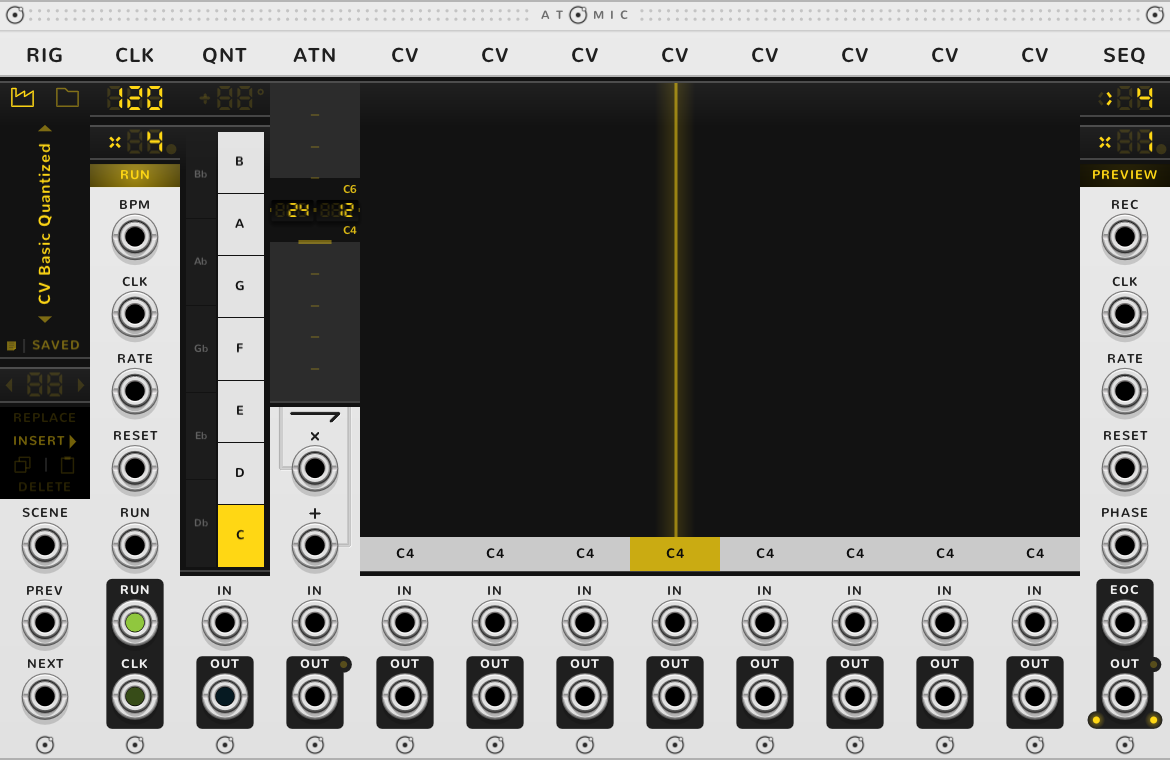
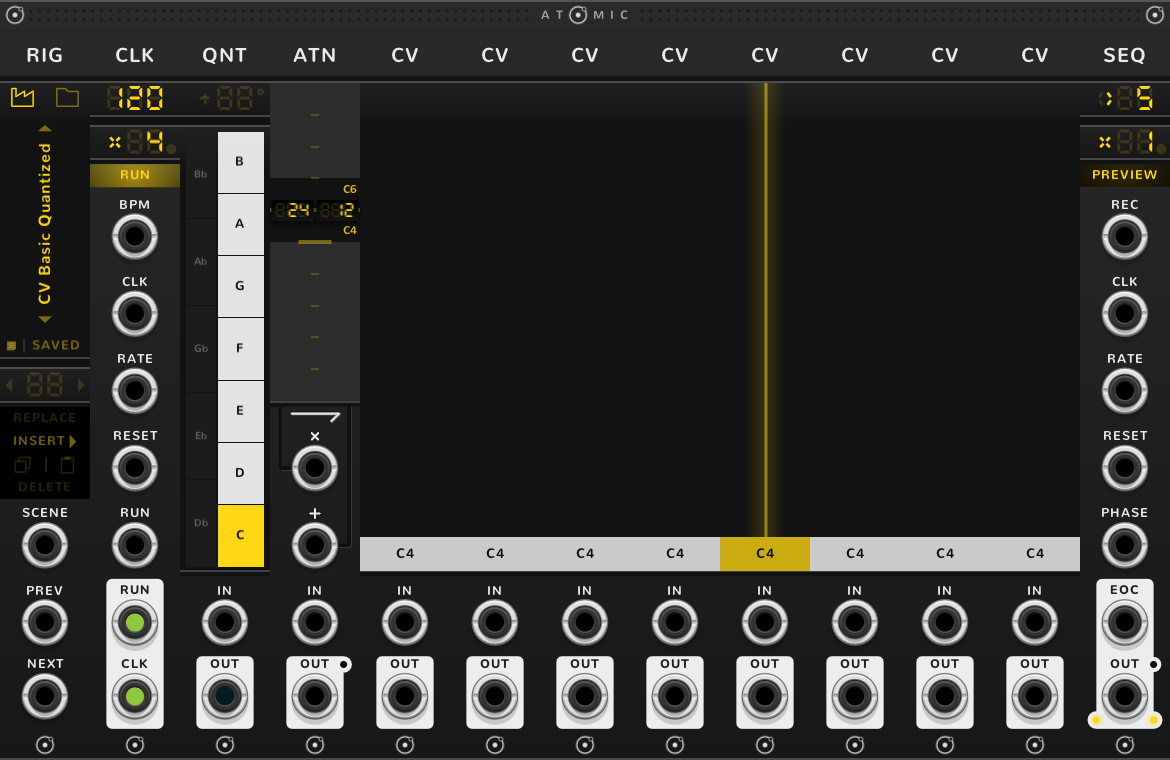
Scenes
A scene is the settings of every module to the RIG's right: every fader, key, trigger and rate. It holds no cables. Set the rig as you like and click INSERT: that is scene 1. Change some faders and click INSERT again: that is scene 2, after the one showing. Click ◂ or ▸ on the scene screen, or drag on it, to go between them; each scene is recalled as it passes. Store a different melody on the same CVs in each scene, or one pattern in four keys, and step through them with triggers into NEXT.
INSERT always stores the rig as it stands, as a new scene after the one showing. REPLACE writes the rig as it stands over the scene showing, and pulses while the two differ. DELETE takes the scene showing out, and the scenes after it move down one. Each is one undo.
COPY, the left of the two icons under INSERT, copies the scene showing; PASTE, the right one, puts the copy in as a new scene after the scene showing and recalls it. There is no pasting over a scene, so to put scene 2 in place of scene 5: COPY on scene 2, go to scene 5 and DELETE it, then go to scene 4 and PASTE, and the copy becomes scene 5. The copy stays within one RIG and is not saved. A RIG holds up to 255 scenes.
Going to a scene with ◂ ▸, a drag, or a trigger into NEXT or PREV restarts every SEQ and CLK to the RIG's right, as the bracket's RESET does, so each scene starts from its first step. SCENE, below, never restarts anything.
By voltage
SCENE picks a scene by voltage: 1 V is scene 1, 2 V scene 2, and so on; anything below 1 V, 0 V included, is scene 1, and anything above the last scene is the last. Between two, say at 1.5 V, it morphs: every value slides from one scene to the next, and switches change halfway. A slow LFO into SCENE drifts between two patterns; a stepped voltage jumps, and the SEQs play on.
Only a whole volt gives a scene unmixed, so a voltage a few millivolts off gives a slight morph. To land on whole volts, pass the voltage through a QNT as a volt divider set to 10 parts, whose lines are 1 V apart. Most sources stop near 10 V, so SCENE reaches about the first ten scenes; NEXT and PREV reach them all.
A trigger into NEXT or PREV recalls the next or the previous scene, going round at either end. While SCENE is patched, NEXT, PREV and the arrows do nothing.
Saving
SAVE opens Rack's save dialog in your folder, where you name the file; the rig is listed under that name, and renaming the file renames it. Each save is a new file. Shift-click opens the dialog on the rig's own file, to write over it. The factory's rigs are replaced on every update, so SAVE never writes there.
The file holds the modules as they stand, the cables between them and to the RIG's own jacks, the scenes and the note. Cables to modules outside the rig are not saved, and a module whose plugin is missing is left out when the rig is opened. The file is a Rack selection (.vcvs), so Rack's Import selection opens it too, without the scenes.
The button reads SAVE, lit, while the rig differs from its file, and SAVED, dark, when it matches. With no scenes, any change of a setting lights it. Once there are scenes, settings belong to them, and SAVE lights only for a change of the modules, the scenes or the note: a fader moved and not stored with REPLACE does not light it. A save still holds the modules as they stand, so the rig opens exactly as it was saved, showing the scene that was showing; to keep a move in a scene, REPLACE before saving.
The note
Each rig carries one note, saved in its file, for whatever a player should know. Click the small square at the left of SAVE and the note opens on a screen beside the name. Click the square again, or press Escape, to close it. The edit is one undo, and SAVE lights to show the rig has changed. To read a note, rest the pointer on the rig's name.
Shortcuts
| Where | Gesture | What it does |
|---|---|---|
| Name | Click | list the rigs and pick one |
| Arrows | Click | the next or previous rig, in place of the rig to its right |
| Icons | Click | the factory's rigs, or your own |
| SAVE | Click | save the rig as a new file |
| SAVE | Shift-click | write over its file |
| Note | Click | open or close the note |
| Note, open | Escape | close it |
| Scene | Click ◂ or ▸ | the previous or next scene |
| Scene | Drag | step through the scenes |
| REPLACE, INSERT, COPY, PASTE, DELETE | Click | the current scene, one undo each |
On every module
| Where | Gesture | What it does |
|---|---|---|
| A value on a screen | Double-click | back to its default |
| Any part | Rest the pointer | a tooltip explains it |
| A module's title | Hold ⌘* or Alt | the Atomic menu: change this module into another kind, or insert one beside it |
| The Atomic menu | Shift+⌘-click | delete the module |
| The bracket | Delete | remove the whole rig |
| The bracket | ⌘-D or Alt-D | duplicate the rig; with Shift, its cables too |
| ATOMIC on the bracket | Click | it reads RESET under the pointer, and starts every SEQ and CLK of the rig again |
* ⌘ is Ctrl on Windows and Linux.