Alone
A signal at IN comes out at OUT times the gain, plus the offset. A negative gain turns it upside down. With nothing at IN, OUT gives the offset alone, so a lone ATN is also a steady voltage.


- Gain drag the left half of the screen; below 0 it inverts
- Offset drag the right half; added after the gain
- × CV for the gain: 10 V keeps it as set, 0 V leaves only the offset, below 0 V inverts it
- + CV for the offset, added volt for volt
- IN the signal
- Clamp light: OUT held inside the range
- OUT the signal, scaled and offset
The gain reads as a multiplier, x1.00 to start. A drag stops at x1, or at -1 going down; start a new drag there and carry it on to boost the gain up to x10.
For a VCA, patch a sound into IN and an envelope into ×: at 10 V the sound passes at the gain set, and at 0 V only the offset is left, silence with the offset at 0.
The lines from × and + up to the screen show which half each jack drives, × the gain on the left and + the offset on the right. A line takes the colour of the cable patched into its jack.
The two numbers at the right edge of the screen are the ends of the range: where -10 V and +10 V at IN land, the offset plus or minus the gain times 10 V. They are worked out for a full ±10 V signal, so a smaller one, a ±5 V LFO say, covers only part of the range between them.
The small light right of OUT is the clamp, off to start. Lit, it holds OUT within those two numbers: x0.50 and +2 V hold it between -3 V and +7 V. A signal smaller than ±10 V never reaches them, so the clamp does nothing to it.
With a cable in IN, the screen takes that cable's colour.
Bonded
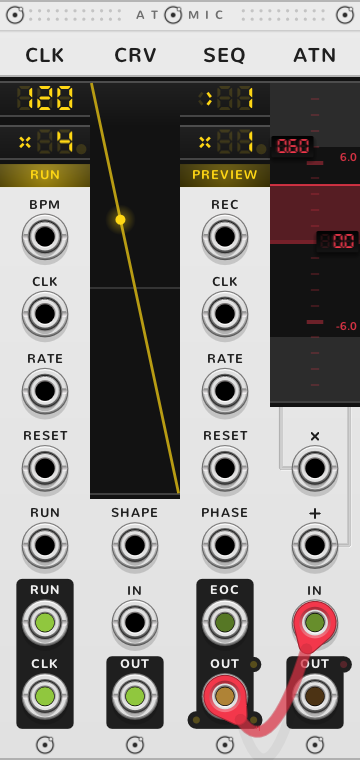
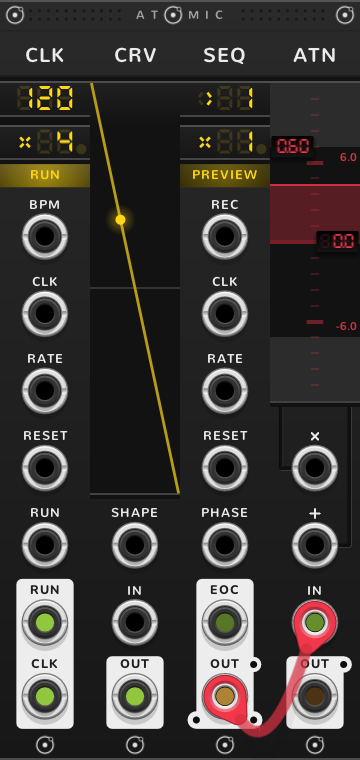
In a rig, modules bonded edge to edge, an ATN either sets the range of the modules to its right, or takes a signal from its left as its input. Two arrows on its panel show which. The right arrow is a short line pointing right, under the screen and above ×. The IN arrow points down into the IN jack, beside its label. The lit arrow is the job in force; click either arrow to switch to the other job.
An arrow is drawn only where it has something to work on: no right arrow when nothing to the ATN's right takes a range, and no IN arrow when nothing to its left gives a signal. So most often only one arrow shows. Clicking it while it is lit turns it off, and the ATN then works as it does alone, on IN. When an ATN joins a rig, it lights the arrow its place calls for, so it usually needs no click.
Setting a range
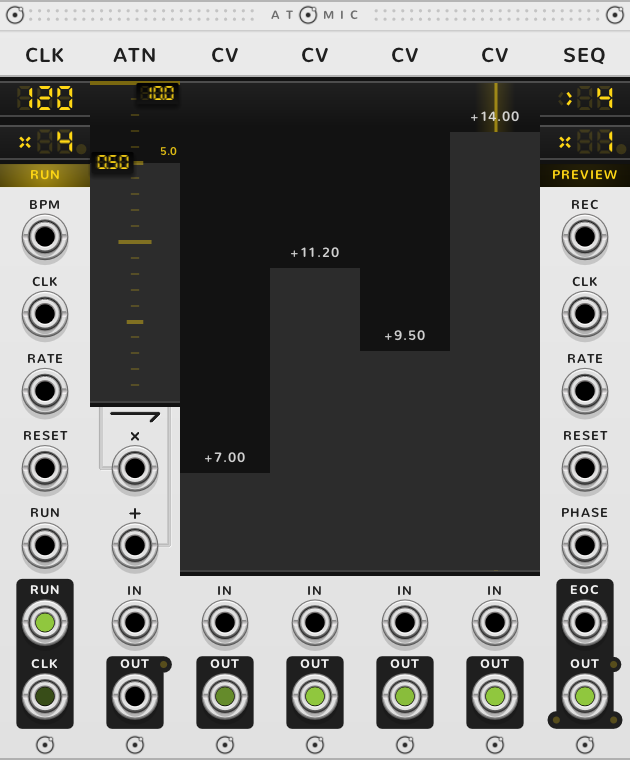
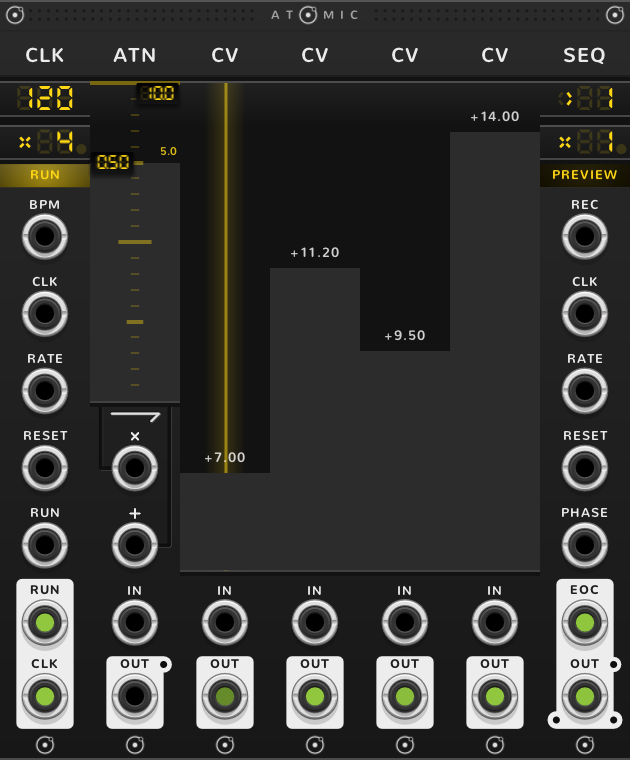
With the right arrow lit, the ATN sets the range of the modules to its right. Over CV faders, each fader's OUT is its position, from -1 at the bottom to +1 at the top, times the gain times 10 V, plus the offset: a gain of x0.50 and an offset of +10 V make the faders span +5 V to +15 V, past 10 V. Over CRVs, the gain and offset set the range their points and IN move in.
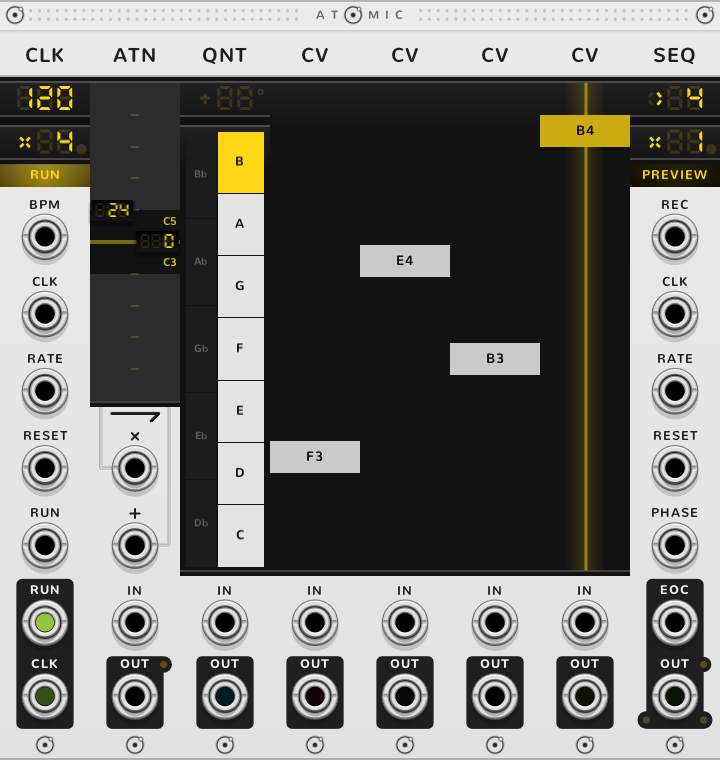
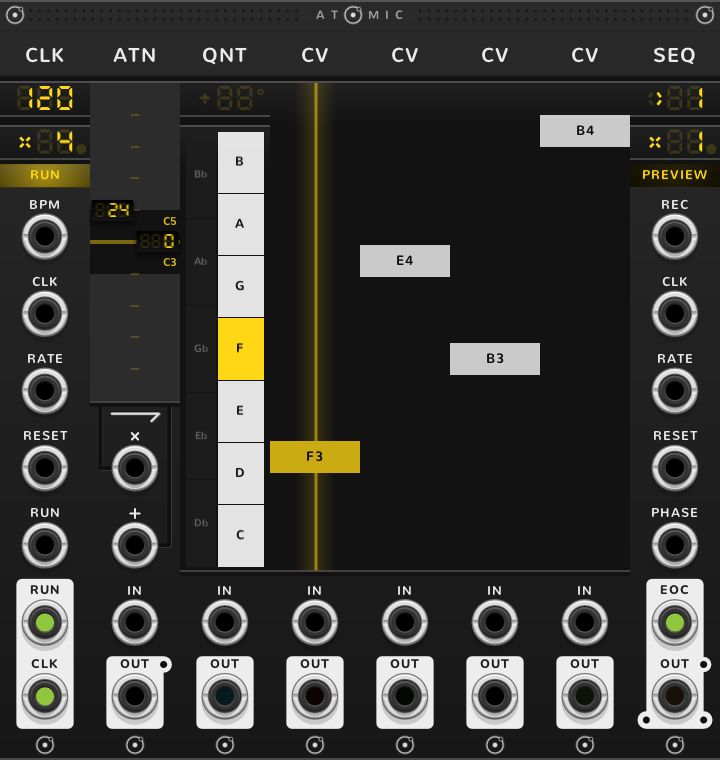
With a QNT, the ATN can stand anywhere to the left of the CV faders, before the QNT or after it. The gain then sets how wide a span the faders reach, shown on the screen in semitones from the lowest note to the highest, so 24 is two octaves. The offset transposes along the scale, and it too reads in semitones: 12 is an octave up.
× and + work here too: an LFO into × sweeps the range of every fader to its right.
Taking a signal from its left
With the IN arrow lit, the ATN takes the nearest signal to its left as its input, a SEQ, a CV, a CRV or a MIX, passing over anything else between, exactly as if a cable ran from that module's OUT into its IN. It then sets nothing to its right.
The nearest thing it can take may be a POLY. The ATN then takes channel 1 of the POLY's cable, and lit ATNs after it take channel 2, 3 and so on, one each: a level and an offset for each channel. The POLY guide shows them as channel strips. Anything that gives a signal between the POLY and the ATN, a CV or a SEQ say, is what the ATN takes instead.
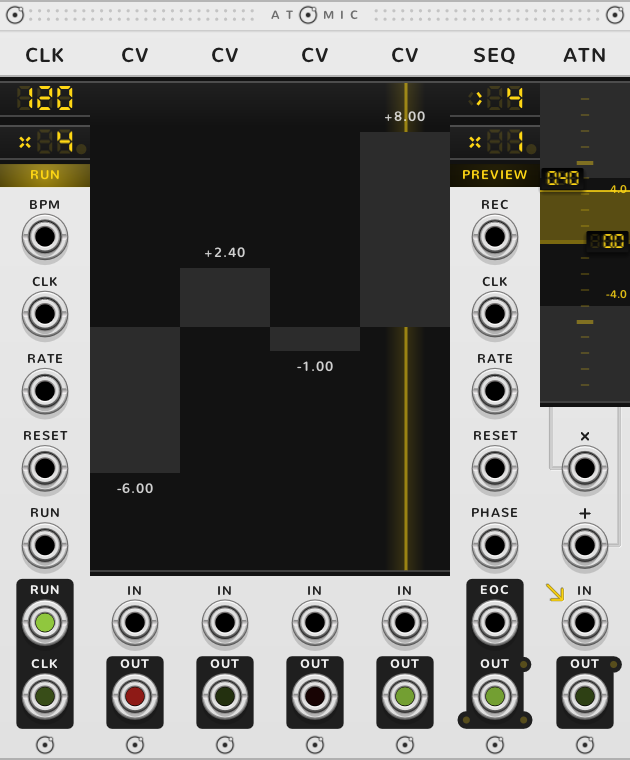
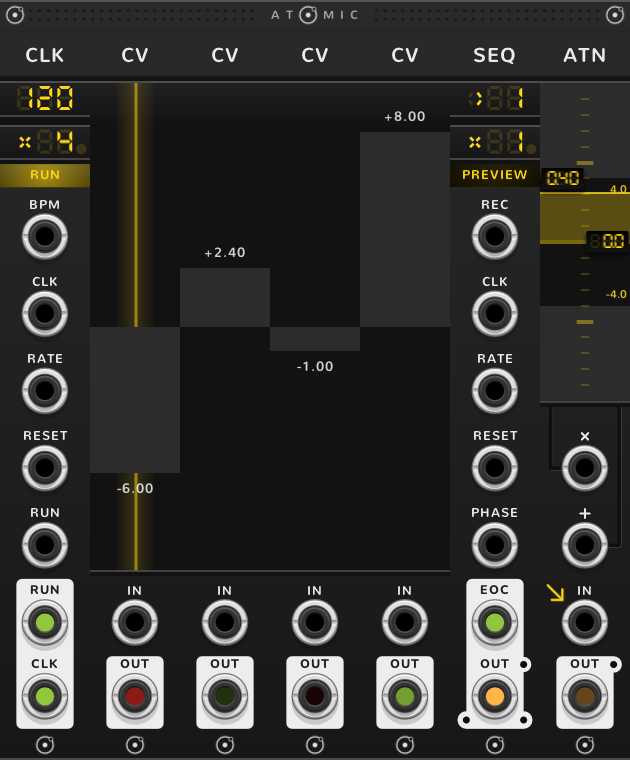
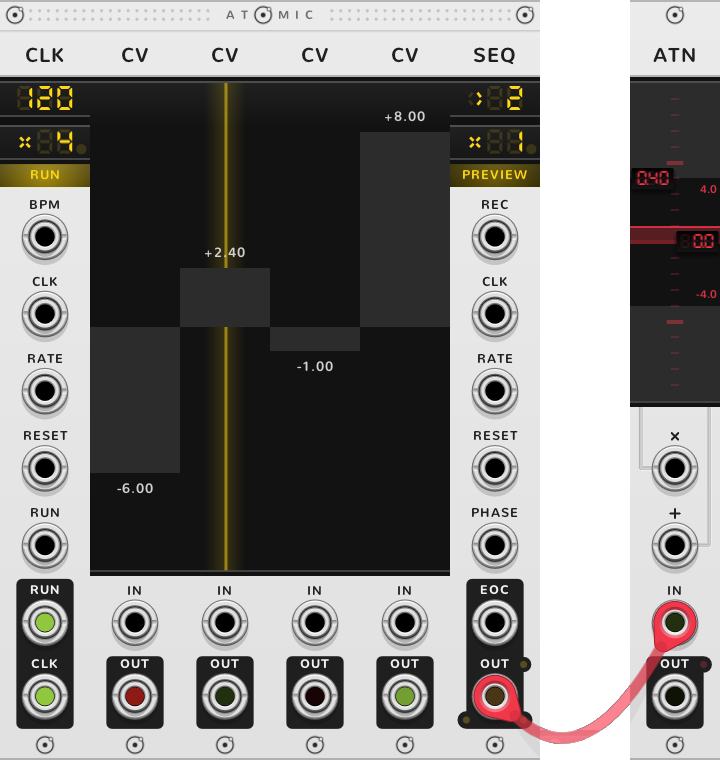
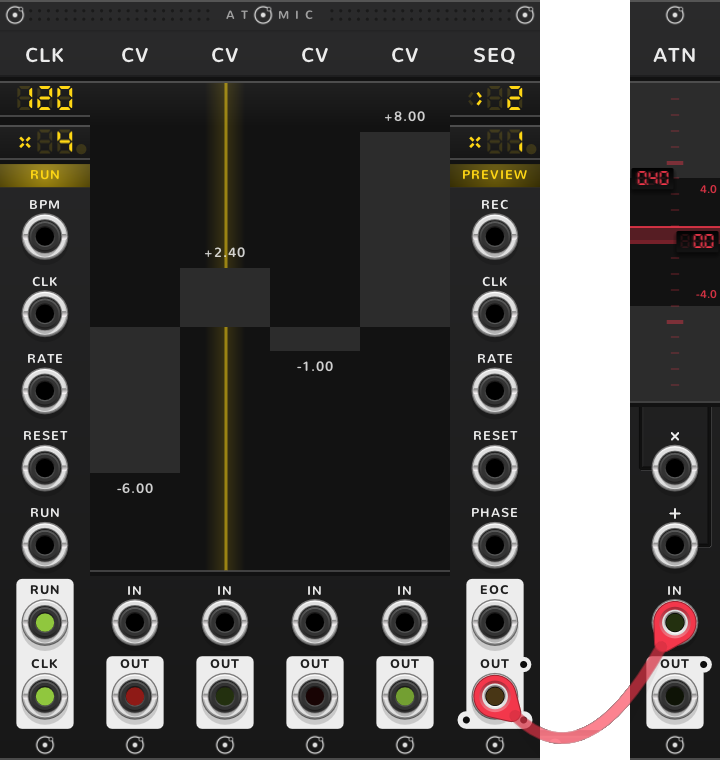
A cable in IN
A cable in IN hides both arrows: the ATN scales the cable, as it would alone, and sets nothing to its right. Pull the cable and the arrows come back as they were.
Stepped by a SEQ
With a SEQ to the right of a row of ATNs, each ATN is a step: the SEQ's OUT switches from one ATN to the next. The SEQ's POLY IN jack then reads ROUTE, and a signal patched there goes through whichever ATN is playing and comes out of that ATN's own OUT as well as the SEQ's. Cable each ATN's OUT to a different filter, and the SEQ hands the sound to each in turn.
Shortcuts
| Where | Gesture | What it does |
|---|---|---|
| Gain | Drag | the gain |
| Gain | Drag again from x1 | boost, up to x10 |
| Gain | Shift-drag | gain by 0.1 |
| Gain, offset | ⌘*-drag | fine |
| Gain, offset | Shift+⌘-drag | finer |
| Offset | Shift-drag | offset on whole volts |
| Gain (over a QNT) | Shift-drag | span by octaves |
| Offset (over a QNT) | Shift-drag | transpose by octaves |
| ATNs side by side | Drag across | draw their gains or offsets in one stroke |
| Clamp | Click | on or off |
| Arrows | Click | set the range to the right, or take the left |
On every module
| Where | Gesture | What it does |
|---|---|---|
| A value on a screen | Double-click | back to its default |
| Any part | Rest the pointer | a tooltip explains it |
| A module's title | Hold ⌘ or Alt | the Atomic menu: change this module into another kind, or insert one beside it |
| The Atomic menu | Add Shift, click DELETE on its top line | delete the module |
| The bracket | Delete | remove the whole rig |
| The bracket | ⌘-D or Alt-D | duplicate the rig; with Shift, its cables too |
| ATOMIC on the bracket | Click | it reads RESET under the pointer, and starts every SEQ and CLK of the rig again |
* ⌘ is Ctrl on Windows and Linux.